Felt Finger Puppets
Bring your imagination to life with Felt Finger Puppets, small, soft characters that slip right onto your finger and are ready to tell a story. In this hands-on Family Art Workshop, participants will design and create their own felt puppet, choosing from animals, people, or entirely original characters. These puppets are perfect for storytelling, pretend play, and creative expression. Simple to construct and endlessly customizable, each puppet becomes a tiny performer with a big personality.

Materials
- Felt Sheets in a Variety of Colors
- Paper Templates or Stencils
- Scissors
- Ruler
- Fabric or Hot Glue
- Markers or Pens
- Optional Decorations (Googly Eyes, Pipe Cleaners, Tiny Pom Poms, Buttons, Ribbon Scraps, Rhinestones, Etc.)
- Optional Embroidery (Embroidery Floss and a Plastic Needle for Stitching instead of Gluing)
Step 1: Prepare Templates.
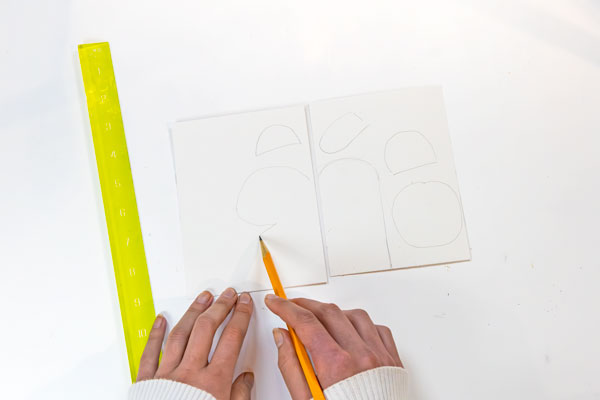
Draw or print a simple puppet body shape (about 2″ wide x 3″ tall) with a rounded top and open bottom for your finger. Create smaller add-on templates for features like ears, arms, hair, or accessories. Cut out all of your templates as needed.
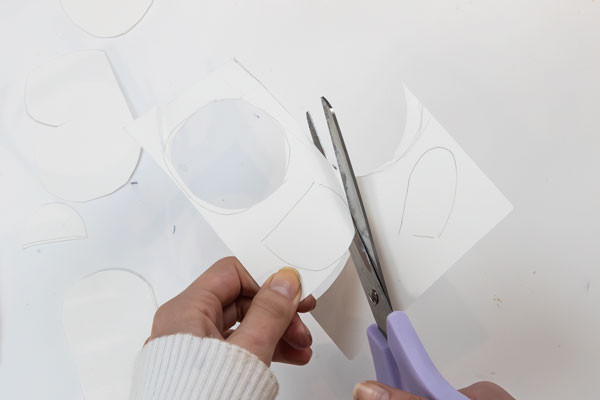
Step 2: Cut Out Felt Pieces.
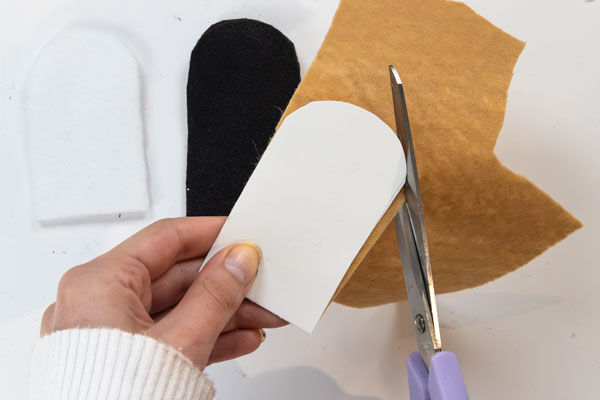
Use the body template to cut two identical felt shapes for each puppet. Cut out any other features or details from the felt using your other templates.
Step 3: Decorate the Front & Back Pieces of Your Puppet(s).
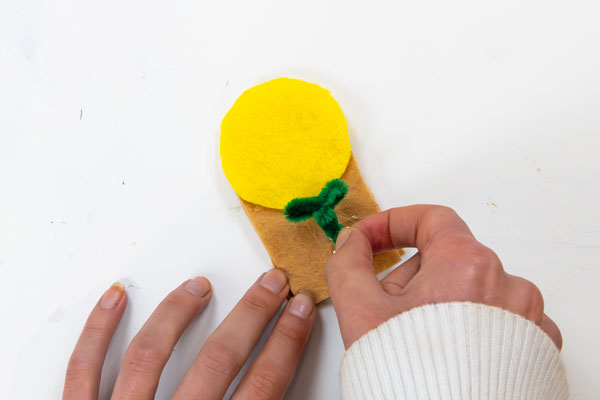
Arrange any facial features and details (eyes, mouth, hair, clothing, etc.) on the felt body pieces. Glue them down and allow time to dry. You can also use markers to add details.
Step 4: Assemble the Puppet(s).

Apply a thin line of fabric or hot glue along the sides and top edges of the inside of your back body piece. Do not glue the bottom edge as it will be where your finger fits inside.
Press your top piece carefully and firmly to the back piece. Smooth out any edges and allow the glue to dry using the drying time on your glue label.
If desired, reinforce edges with stitching or add extra felt details for durability and dimension.
Step 6: Bring Your Puppet(s) to Life!
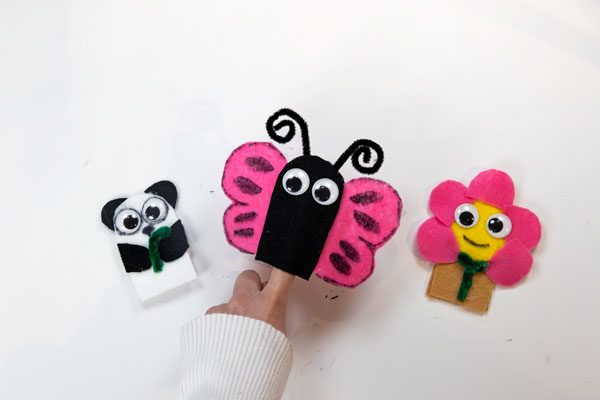
Once dry, slide the puppet onto your finger and bring your character to life through movement and voice.
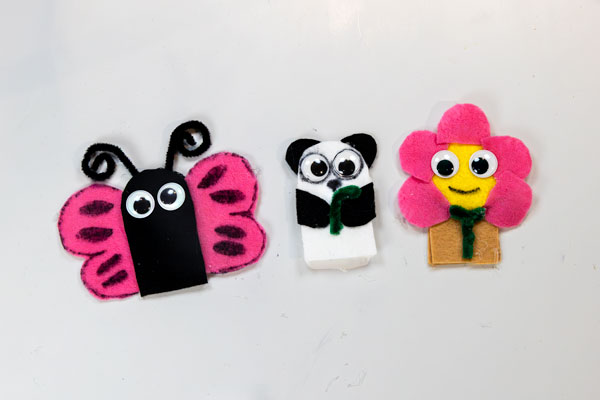
Further Learning and Discussion Questions:
Discussion questions for reflection:
– Design Choices: What inspired the character you created? Is it based on a real person, animal, or something from your imagination?
– Creative Process: What part of making your puppet was most challenging, and how did you work through it?
– Character Development: What kind of personality does your puppet have? How can you show that through movement or voice?
– Expression and Communication: How does using a puppet help you tell a story or express ideas differently than speaking as yourself?
– Sharing and Community: If you were to create a puppet for someone else, what would you design and why?
Further Learning:
Storytelling and Performance: Now that your puppet is complete, it is time to bring it to life through storytelling.
– Meet Your Character: Give your puppet a name and a personality. Is your character funny, brave, curious, or mischievous? Think about how it moves and sounds.
– Create a Story: What adventure will your puppet go on? Maybe it explores a magical land, solves a mystery, or makes a new friend. You can tell your story out loud, write it down, or draw it as a comic.
– Puppetry Traditions: Finger puppets are part of a long tradition of puppetry found all over the world. Puppets have been used for storytelling, teaching lessons, and entertainment for centuries. How might your puppet share a message or teach something?
– Group Puppet Show: Work together with friends and family to create a group story. Each participant introduces their character, and together you build a shared narrative. You can even perform a short puppet show.
– Share Your Creation: Present your puppet and its story to others. Whether through a performance or simple storytelling, your puppet becomes a tool for creativity, communication, and connection.