Wooden Magnets
Bring a dose of creativity to your refrigerator and whiteboards by designing fun wooden magnets to attach artwork and reminders! Try our next-level ideas at the end for fun handmade gift suggestions.

Materials:
- Wooden Discs
- Wooden Drawer Knobs
- Magnets (Round)
- Acrylic Paint
- Paintbrush
- Scissors
- Hot Glue Sticks & Glue Gun
- Assorted Craft Felt
- Modge Podge
- Scrapbook Paper
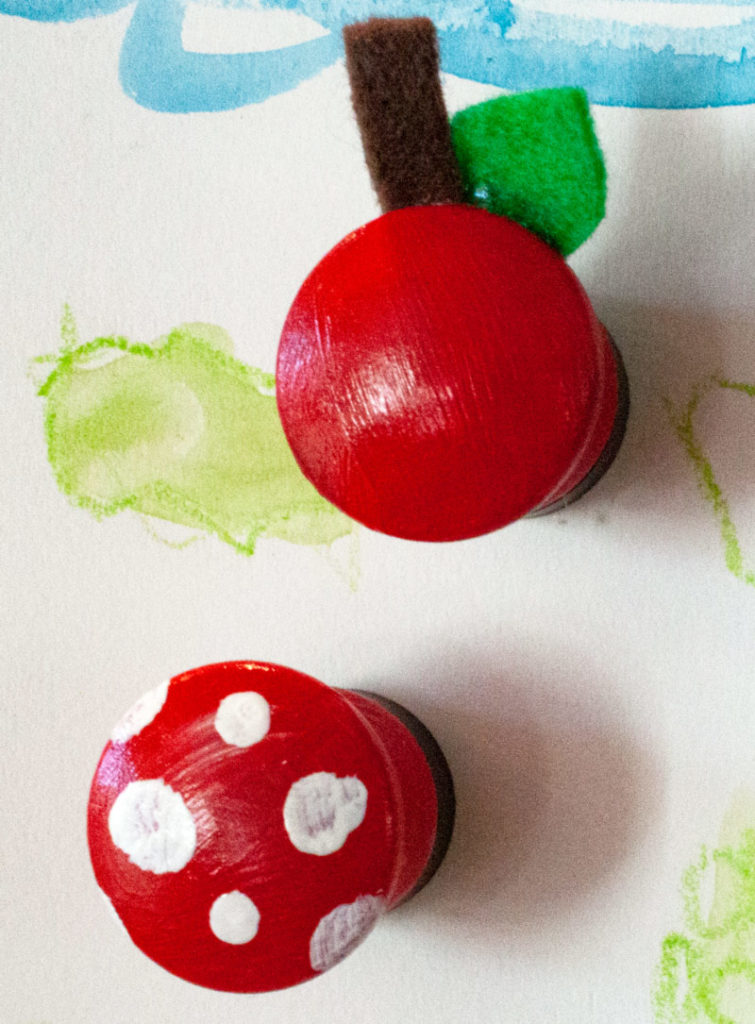
Painted Wooden Magnet
Step 1: Paint the wooden drawer knobs to the color of your theme. Paint it red for an apple or cherry. Black and yellow for a bumblebee, or red and black for a ladybug.
Step 2: Once dry, apply a protective layer of Modge Podge.
Step 3: Using scissors, cut out shapes of felt for your chosen project. For an apple, cut a green leaf and a brown stem; for bumblebees, cut black stripes for the stinger and antenna; a green stem for a cherry; and black dots for ladybugs.
Step 4: Secure each piece of felt with hot glue onto the wooden drawer knob.
Step 5: Use the hot glue to attach a magnet to the bottom of the knob.
Step 6: Hang pictures, notes, grocery lists, and more onto your fridge and whiteboards.
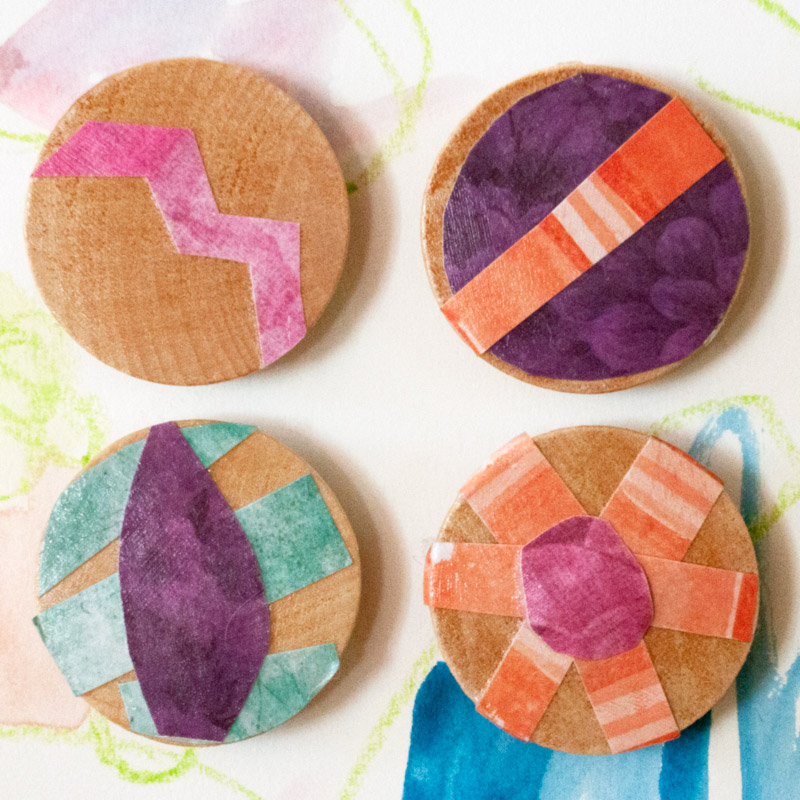
Decoupage Magnet
Step 1: Cut out shapes with the scrapbook paper and trim them using the wooden disc’s circle as a template.
Step 2: Use the Modge Podge to adhere the shapes onto the wooden discs.
Step 3: Seal with a protective coat of Modge Podge.
Step 4: Use the hot glue to attach a magnet to the bottom of the disc.
Ideas to take your project to the next level:
- Using different sized knobs and buttons, make a family of bees or ladybugs!
- Decorate a small basket to house the apple or cherry magnets.
- More decorating ideas include painting the wooden magnets to look like balloons, emojis, mushrooms, ornaments, and pumpkins.
- If you have 26 wooden magnets, paint each letter of the alphabet on them! Painting numbers 0-9 work as well. Teach little ones the alphabet and numbers using the magnets.
Learning and Discussion Questions:
1. Magnets have a north and a south pole, causing different reactions to how they behave with each other. Visit this site to learn about the science behind how a magnet works!
A. Opposite poles attract each other, while magnets with the same pole repel! Hence why you may feel like there is a bubble between the two magnets, not allowing you to get them closer than an inch of each other.
B. This bubble is known as the magnetic field, an invisible circle around both the magnet and our planet!
2. Hands-on activity: Magnetization
Some materials are magnetic but are not magnets themselves. There is a simple way to turn that object or material into a magnet: Rub the magnet against the unmagnetized object, and it will instantly become a magnet. The unmagnetized item can be something as simple as a soft piece of iron. Watch this youtube tutorial on how to magnetize another object.
Thank you to our sponsor, PNC Arts Alive!, for helping to make this video possible!