Sculptural Paper Flowers
Create flowers that will never wilt! Learn how to convert cardstock, tissue paper, and cardboard into sculptural dahlias and basic wide-petal flowers. Use them as floral home decor or place them on gifts to add a unique, creative touch.
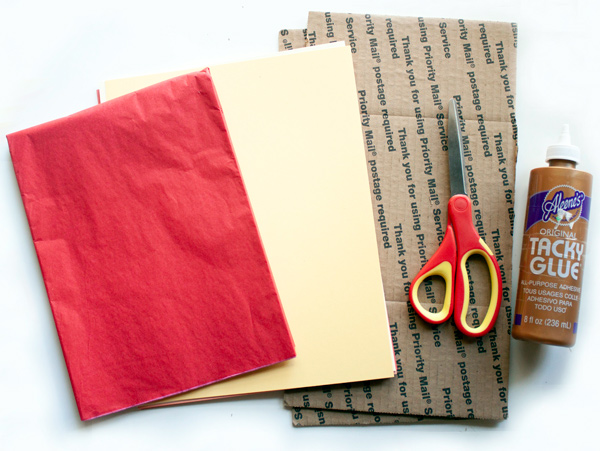
Materials:
- Cardstock
- Tissue Paper
- Cardboard
- Glue
- Scissors
Dahlias:
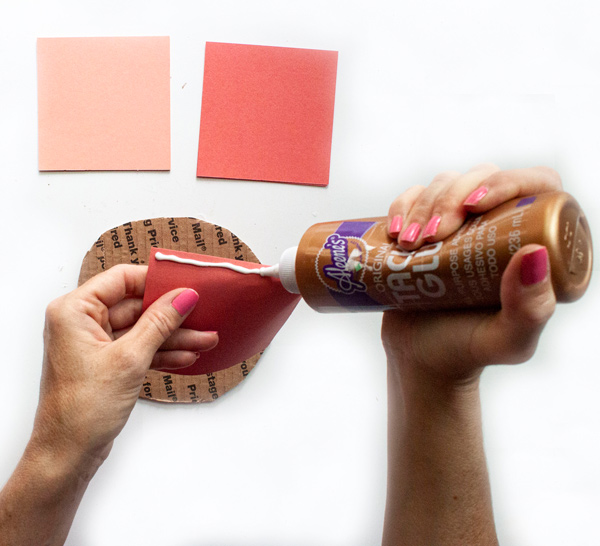
Step 1: View dahlias in a garden or photos of dahlias for inspiration, and then choose your cardstock colors. Cut thirty-five 4-inch by 4-inch pieces of colored cardstock.
Step 2: Form each 4-inch square into a cone. Add glue along one side of the square and bring the opposite corner halfway across the square. Overlap and secure by pressing down to seal. Create thirty to thirty-five cones.
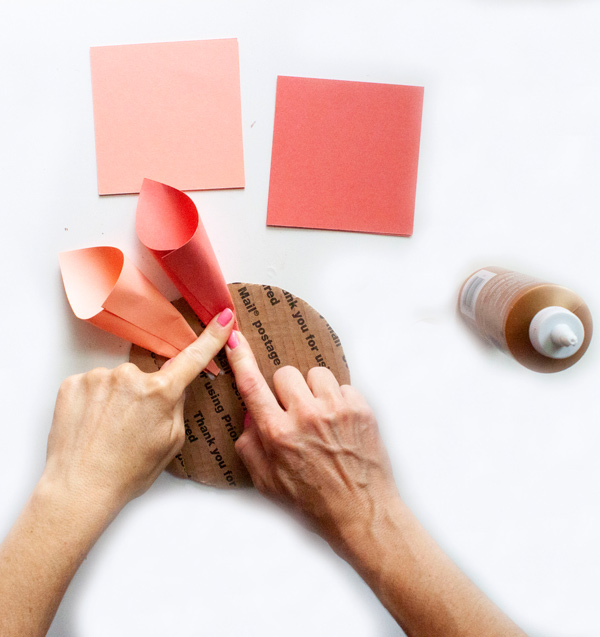
Step 3: Using scissors, cut a circular cardboard base the size of your hand.
Step 4: Assemble the cones on the circular base. Flatten the pointed end of each cone before gluing it on the base.
Step 5: Add glue near the rim of the circle base and gently place and press each cone about a half inch apart. One-third of the cone should be within the circle’s boundaries, and the rest should hang off the edge.
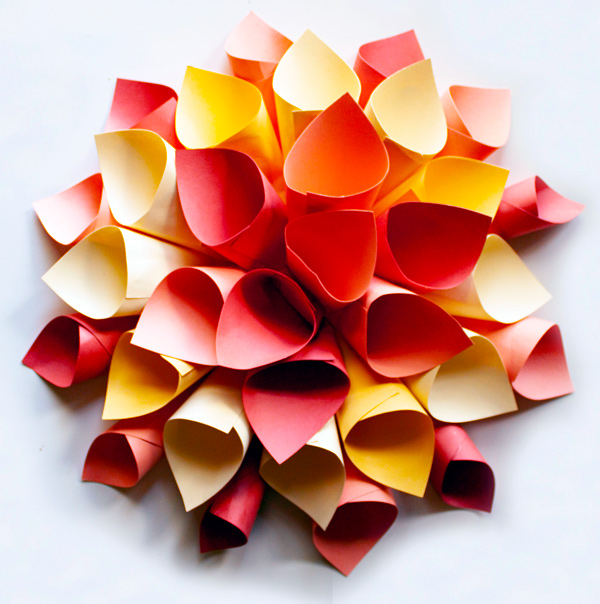
Step 6: Next, create the second layer. Place the new layer of cones in between the first layer.
Step 7: Repeat this process for the third, fourth, and fifth layers until no base is left showing.
Wide-Petal Flowers:
Step 1: Prepare a base using scissors to cut a circular cardboard base the size of your hand.
Step 2: Form the first layer of petals. Cut tissue paper into rectangles that are five inches by ten inches. Trim one short side of the rectangle, creating a curved edge. Pinch the opposite edge of the petal to form a narrow end.
Step 3: Use glue to adhere the narrow ends of the petals to the edge of the circular base. The narrow ends should touch.
Step 4: Create a second petal size that is slightly smaller than the first round of petals. Glue those in a circular loop on top of the first layer. Be sure to place the second layer in between the first layer.
Step 5: Cut a small rectangular stack of 4 sheets of tissue paper. Cut fringe on one of the long sides of the rectangle.
Step 6: Roll the fringed rectangle and glue it into the center of the petals. Trim to the desired length.
Ideas to take your paper flowers to the next level:
- Create multiple flowers and hang them as a cluster on a wall.
- Experiment with printed cardstock and wallpaper to create ornate sculptural flowers.
Learning and Discussion Questions:
1. Some artists’ creative practice focuses on cutting, folding, bending, and shaping paper into impressive sculptural forms. This Hongkiat article showcases some of the most remarkable paper artists in the world.
2. Did you ever think of paper as a sculpting medium? After creating your sculptural paper flower, think about paper and its properties. Examine a blank piece of plain white paper. Consider all the ways a single sheet of paper can be manipulated (tearing, crumpling, etc.). Ask yourself the following questions:
A) How is paper an ideal material for making sculptures?
B) How is paper a challenging material for making sculptures?
C) In what ways can you alter the paper to address these challenges? (Example: Paper is flimsy. How could you make it stronger?)
Thank you to our sponsor, PNC Arts Alive!, for helping to make this video possible!