Marker Prints
Printmaking with markers is a great way to introduce young artists to the artistic process of monoprinting. Vibrant, colorful works of art can be made at home using simple materials found in the junk drawer and the kitchen. Finished prints can be hung on the wall or turned into collage paper for other projects.
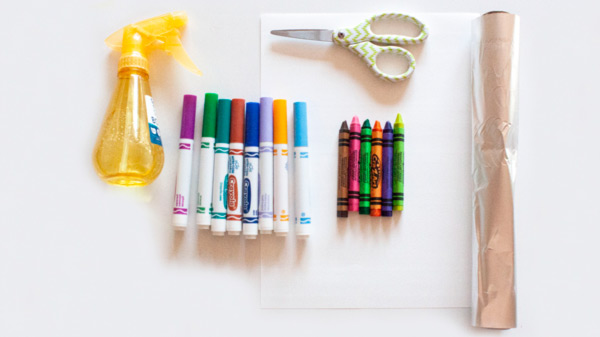
Materials:
- Washable Markers
- Crayons
- Aluminum Foil
- Spray Bottle
- Heavy Weight Paper
- Scissors
- Paper Towel
Step 1: Roll out a piece of aluminum foil, slightly larger than the size of your paper, and trim it off the roll using scissors.
Step 2: Use a crayon to mark the edges of the paper on the foil.
Step 3: Draw a design on the paper.
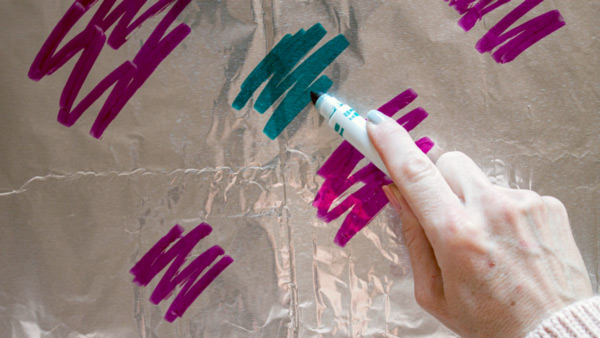
Step 4: Draw on the foil with washable markers, staying within the crayon marks previously made.
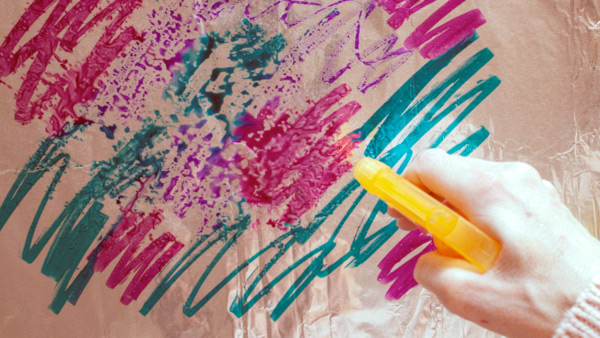
Step 5: Lightly spray the marker design with water. It will begin to bead up on the paper. Be careful not to add too much water.
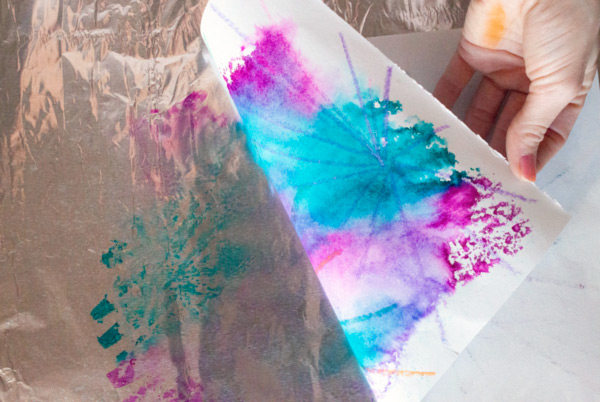
Step 6: Gently place your paper design facedown onto the wet foil design.
Step 7: Slowly peel the paper off of the foil and set it aside to dry.
Step 8: Wipe the surface of the foil clean with a paper towel and create another print!
Ideas to take the marker prints to the next level:
- Cut your marker prints into various shapes and use the colorful pieces to create a collage.
- Print on half of the paper and then fold it in half to create unique, handmade cards or postcards.
Learning and Discussion Questions:
1. The first prints are attributed to prehistoric times. The Highpoint Center for Printmaking, located in Minneapolis, Minnesota, compiled a brief history of printmaking. Click here to learn more.
2. Contemporary artist Rosalyn Bodycomb creates monoprints by applying oil-based inks onto plexiglass plates. To view images of her monoprints, visit her website.
Thank you to our sponsor, PNC Arts Alive!, for helping to make this video possible!