Homemade Playdough
Enjoy some classic family fun with sculpting playdough! Use this video to help whip up some no-cook playdough that can last up to 6 months. Experiment with colors, add sparkles, and even essential oils for a wonderful aroma as you play.
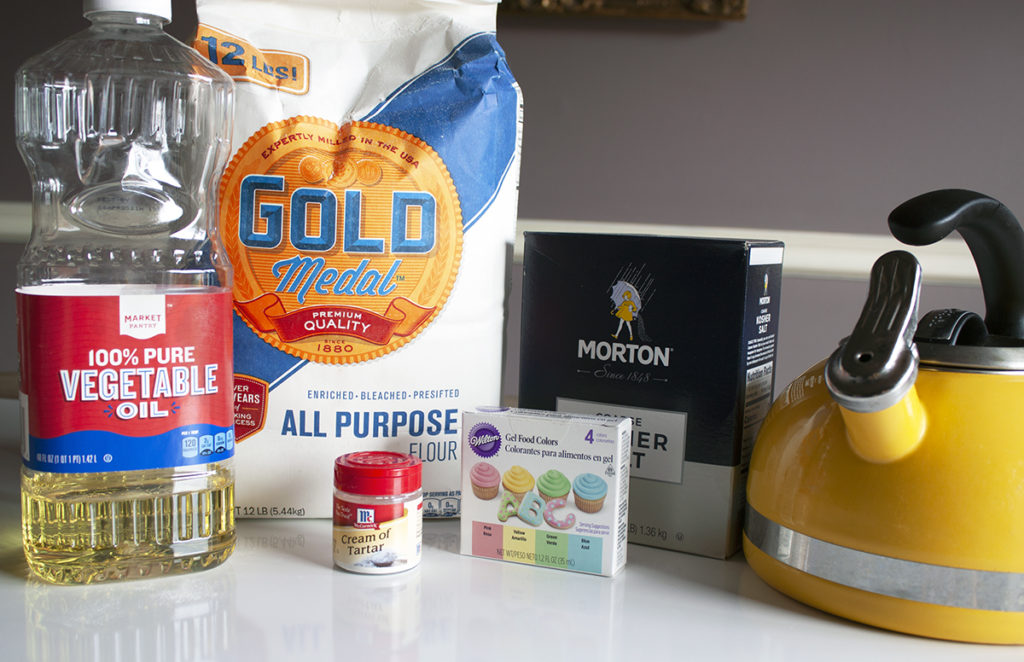
Materials:
- 2 Cups Plain Flour
- ½ Cup Salt
- 2 Tablespoons Cream of Tartar
- 2 Tablespoons Vegetable Oil
- 1 to 1 ½ Cups Boiling Water
- Gel Food Coloring (optional)
- Few drops of Glycerine (for stretch and shine)
- Essential Oils (optional)
Step 1: Mix the flour, salt, cream of tartar, and oil in a large mixing bowl.
Step 2: Add food coloring to the boiling water, and then pour it into the dry ingredients.
Step 3: Stir the mixture continuously until it becomes a sticky dough.
Step 4 (optional): Add the glycerine for a shiny appearance.
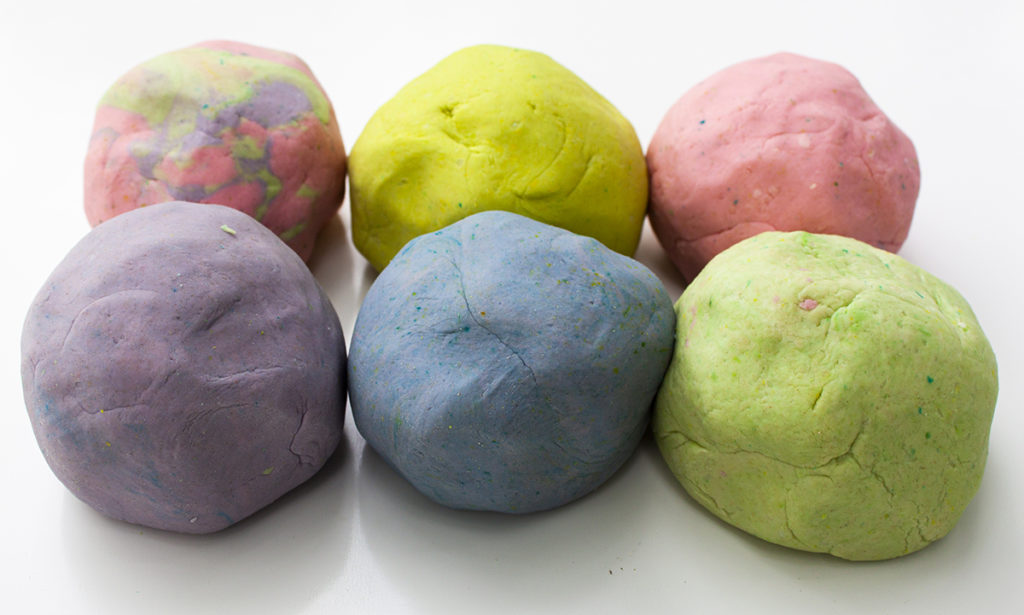
Step 5: Allow the dough to cool down a little, then take it out of the bowl and knead it vigorously for perfect consistency and until all of the stickiness is gone. If it remains too sticky, add a touch more flour until just right.
Step 6 (optional): Add a couple of drops of essential oil for an aromatherapy experience while using the playdough.
Step 7: Store the playdough in an airtight container for up to 6 months.
Learning and Discussion Questions:
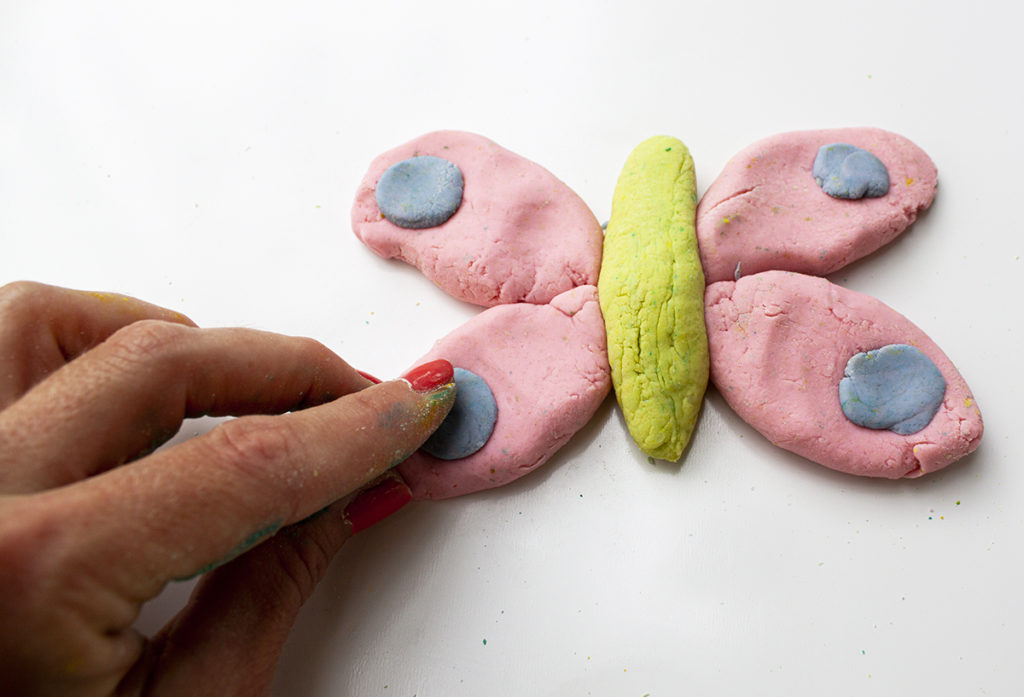
1. Artists use a collection of tools to alter the medium they are working with, whether it is glass, clay, or wax. Create a playdough sculpture tool kit! Examples for your tool kit include pattern rollers, metal cookie cutters, glass gemstones, tiny plastic animals, straws, wooden dowel sticks, and textured wooden blocks.
2. Use your playdough to learn the alphabet! Roll small balls of playdough into thin snakes. Use the snakes to form the letters of the alphabet.
Thank you to our sponsor, PNC Arts Alive!, for helping to make this video possible!