Craft Stick Characters
Create entertaining characters using inexpensive supplies like colored craft sticks, buttons, and craft felt or paper. Begin with simple wooden sticks and arrange them in a variety of ways to make a unique character. What background story will you give your character?
Materials:
- Craft Sticks (colored or plain wood)
- Scissors
- Paint
- Craft Glue
- Decorations (buttons, glitter, craft felt, construction or scrapbook paper, tissue paper)
Step 1: If you are using pre-colored craft sticks, choose the colors you would like to use.
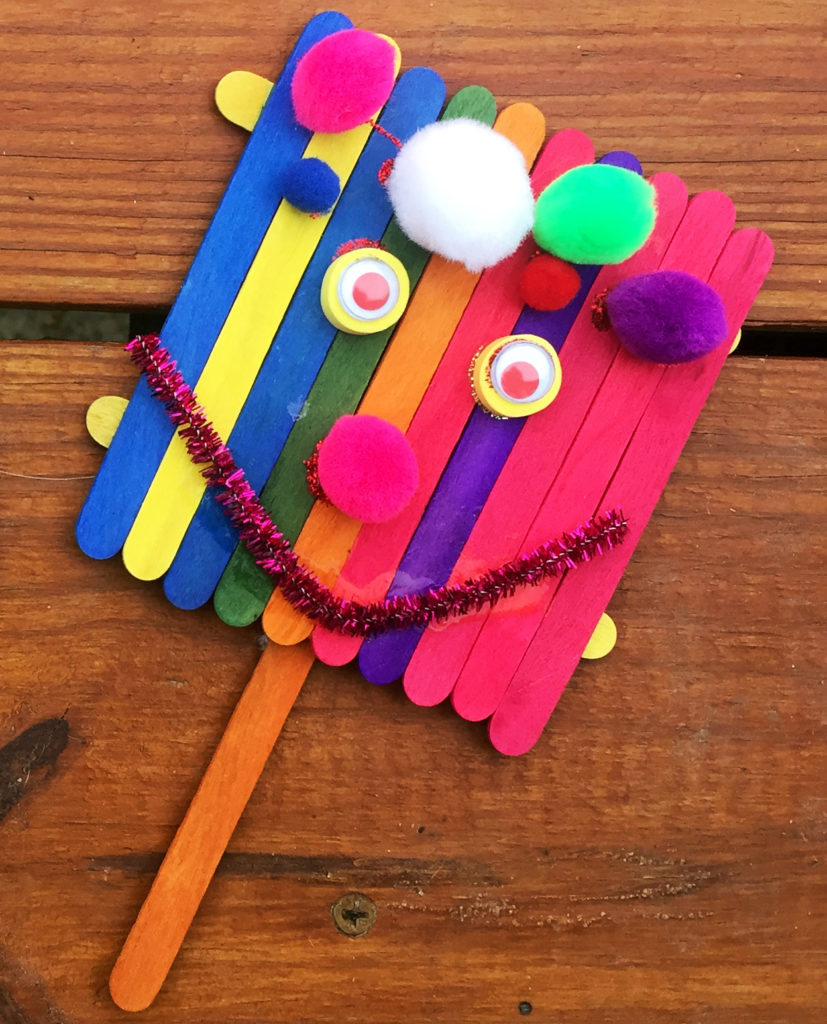
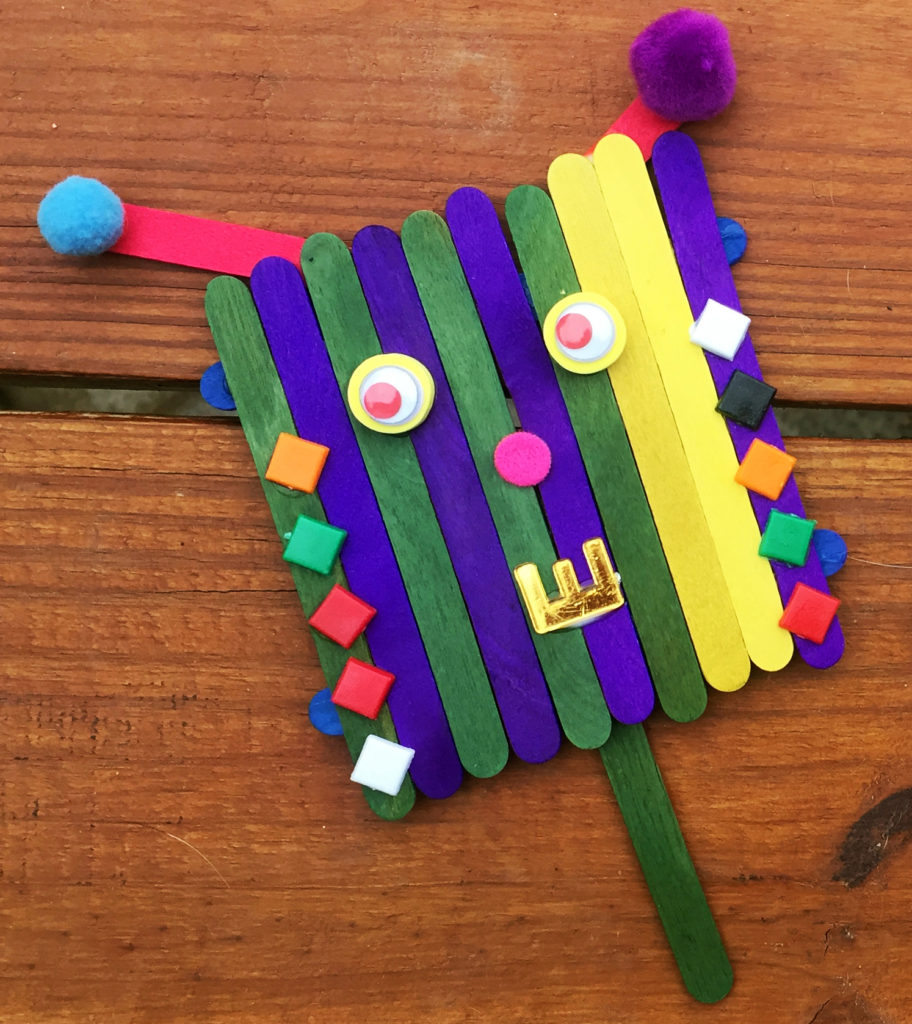
Step 2: Create the base of your character’s face! Arrange the craft sticks alongside each other vertically to create a “fence.”
Step 3: Once you have your vertical sticks arranged, add two more sticks horizontally. Glue these two in place to hold all of the other sticks together.
Step 4: Set your base aside and allow it to dry for about 15 minutes or longer, depending on the type of glue used.
Step 5: If you would like to make more characters, perhaps even to use in a puppet show, make those bases at this time.
Step 6: While your base(s) are drying, cut out your character’s facial features using felt or construction paper.
Step 7: Once your base is dry, add the facial features and adornments (such as buttons and glitter) to create a unique expression and appearance for your character.
Step 8: If you would like to use your character as a puppet, glue a stick vertically to the bottom of the base to be a handle.
Learning and Discussion Questions:
1. Create a character sheet for each of your creations! Use this PDF worksheet to add a personality to your character.
2. Engage in creative drama! Write a story/script for your character! The K5 Learning site offers a handful of great worksheets that will guide you through this process. Use this PDF worksheet to get started.
Thank you to our sponsor, PNC Arts Alive!, for helping to make this video possible!