Candy Fusing & Slumping
It is time to get imaginative and melt some hard candy into a bowl. Yes, you read that right, a bowl made of hard candies! Follow the instructions to learn how to create a magical candy wonderland. Take this project one step further with our idea list below.
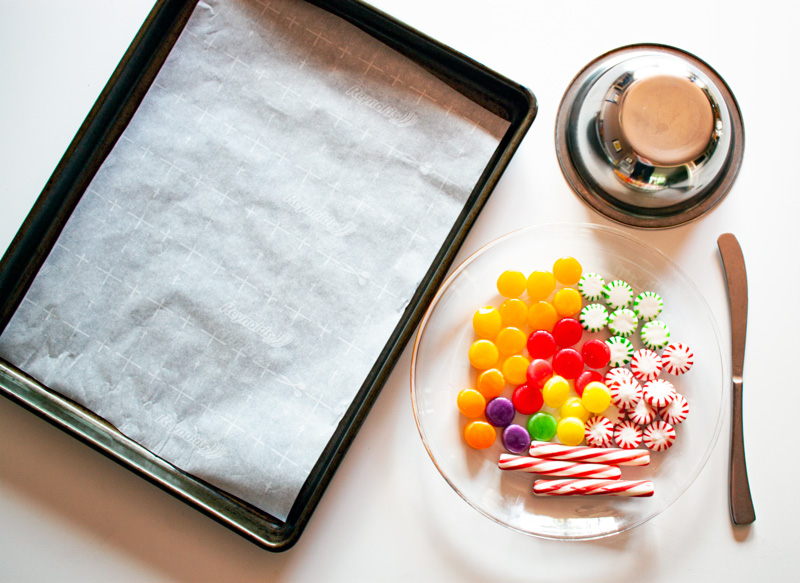
Materials:
- Assorted Hard Candy
- Baking Sheet
- Parchment paper
- Butter knife
- Mortar and pestle or hammer
- Stainless steel bowl
- Oven mitts
Step 1: Gather assorted hard candies. The candy can be opaque, translucent, or transparent.
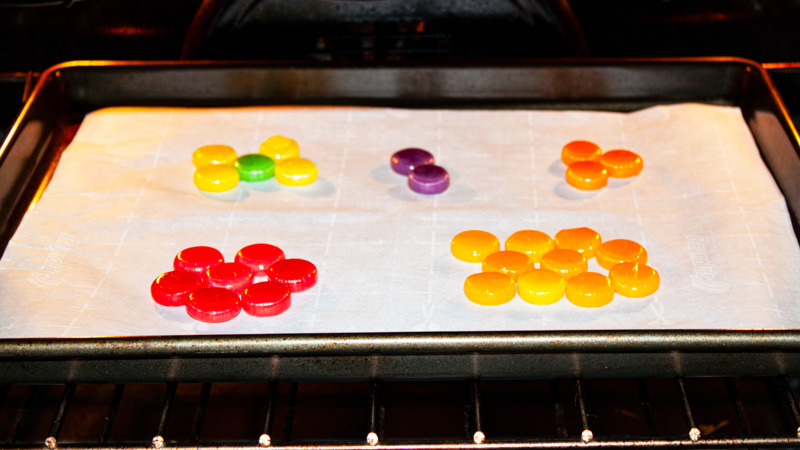
Step 2: Arrange the hard candy onto a parchment-covered baking sheet. Create different sizes and color combinations by placing candies near each other in groups.
Step 3: Place the baking sheet in a 300°F oven for 8 minutes.
Step 4: Remove the candy from the oven as soon as it melts. If it stays in the oven too long, the candy will scorch.
Step 5: Gently slide the parchment paper off of the baking sheet.
Step 6: While the melted candy is warm, score the melted candy with a butter knife into sections. You do not need to cut all the way through.
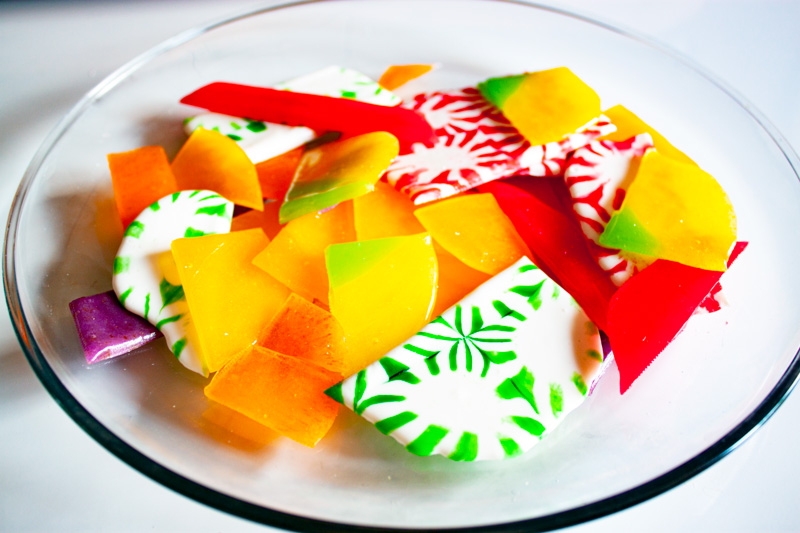
Step 7: After the candy cools down, snap along the lines, turning the hard pieces into shards.
Step 8: Repeat the melting and scoring process with more hard candies until you have enough melted candy to create a bowl design.
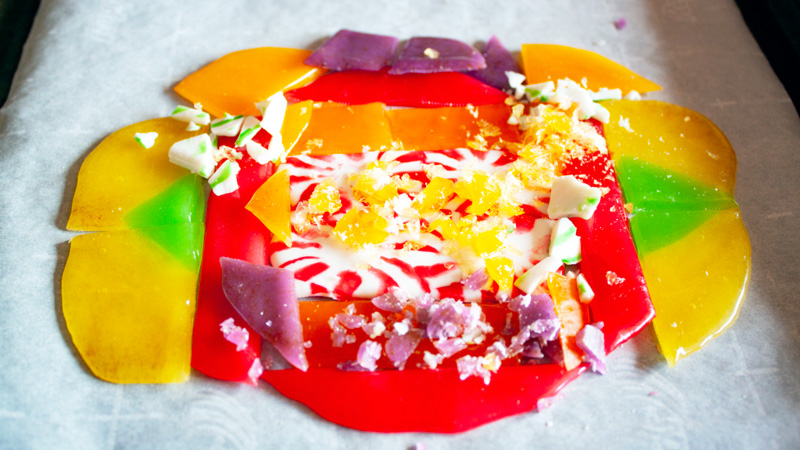
Step 9: Arrange your melted candy shards on the parchment paper. Create a fun design with different colors as large as you can within the baking sheet’s boundaries.
Step 10: Crush some of the other candy pieces into tiny bits, called “frit.” Use a mortar and pestle or a clean hammer to crush the candy.
Step 11: Sprinkle the frit over the design arranged on the parchment paper.
Step 12: Place the baking sheet in the 300°F oven for only 4 minutes this time. As soon as the candy all melts together, promptly remove it!
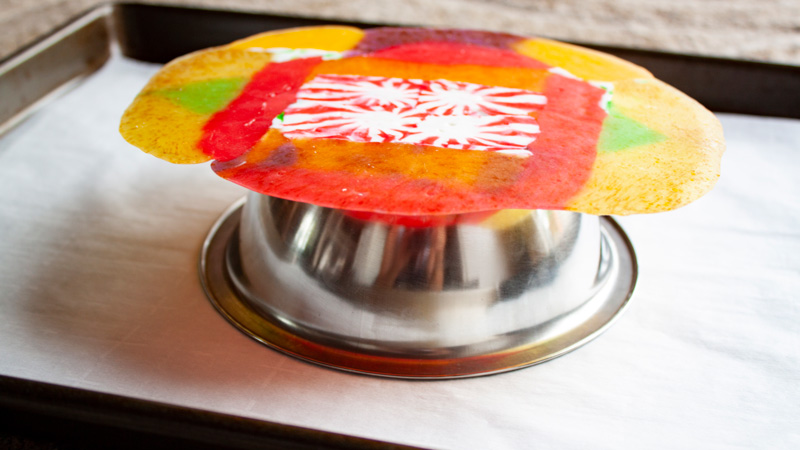
Step 13: Slump the fused candy over a mold. A metal bowl is a perfect mold. Flip the metal bowl upside down onto the baking sheet and center the fused candy over it. *Slumping is when glass, or in this case, candy, is heated and melted at high temperatures and shaped over a mold.*
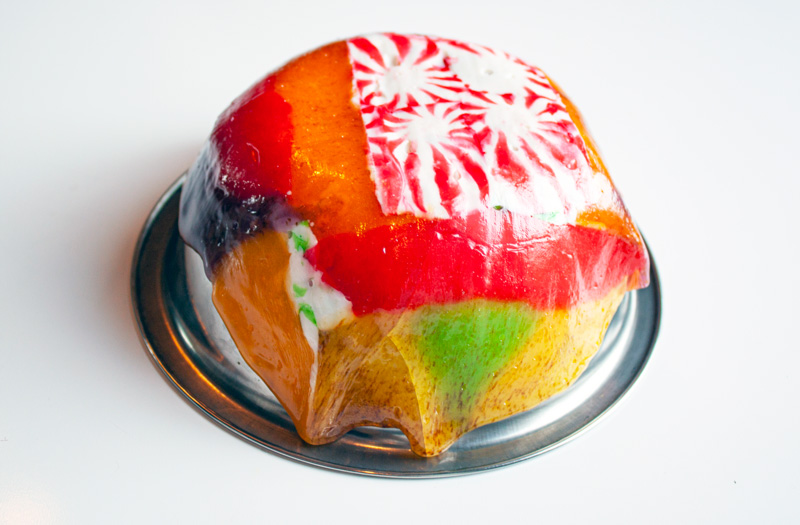
Step 14: Place the baking sheet with the mold and candy back into the 300°F oven for 3 minutes and remove after the candy has melted downwards over the bowl.
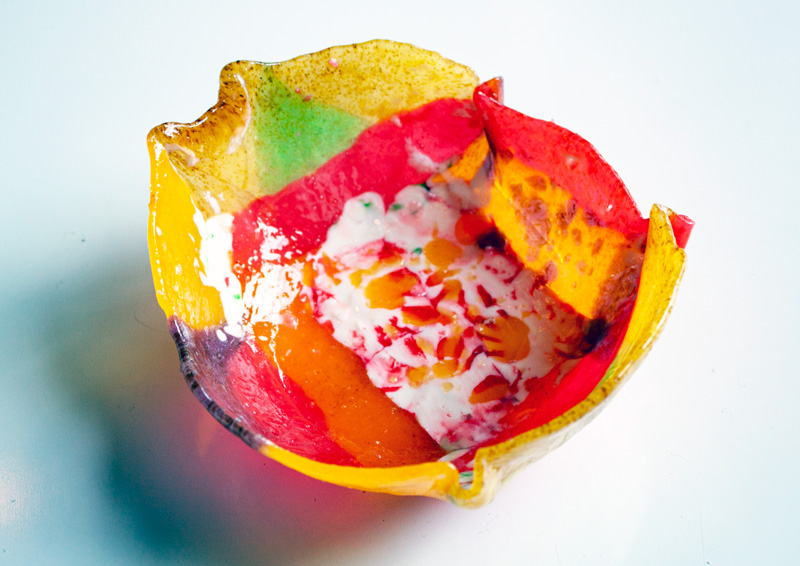
Step 15: Place the bowl in the freezer to help release the candy from it. You now have a candy bowl!
Ideas to take your fused & slumped candy pieces to the next level:
- To satisfy your sweet tooth even more, use the candy bowl to hold ice cream or even more candy.
- Try finding colors that match the season or upcoming holidays.
- Take a trip to the color wheel and use complementary colors for your candy bowl. How do those colors interact after they melt? Do they blend together, or are they still identifiable?
- Add a plate to place the bowl on. Slump the candy with a plate that is a tiny bit shallow.
Learning and Discussion Questions:
1. Sugar/candy and glass contain very similar characteristics:
- They both melt when exposed to heat. If left in the heat for too long, the sugar will scorch, and the glass will crack.
- Both bond with itself, making it possible to add sections in the creation and building process.
- Looks similar to each other- both sugar and glass can be transparent (can be seen through) or opaque (not see-through or frost-like)
- They can both be shaped using molds. In this project, the metal bowl is a mold. For glass, ceramic, sand, and metal molds are used.
2. Watch how Jacquy Pfeiffer, of The French Pastry School, demonstrates how he makes sugar sculptures. Click here to watch.
Thank you to our sponsor, PNC Arts Alive!, for helping to make this video possible!